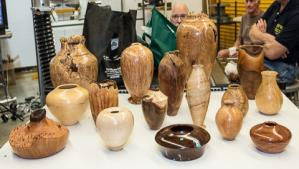
Dennis Lillis gave an informative and rapid fire demonstration of his hollow form turning techniques at the April 6th meeting. Dennis brought enough samples of his hollow forms to cover a table top, ranging in size from large Grecian Urn looking pieces to more modest sized Southwest inspired vessels. Whether highly polished or just finished with shellac, each piece reflected Dennis’s mastery of the form.
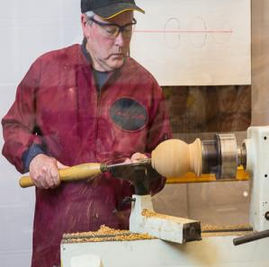
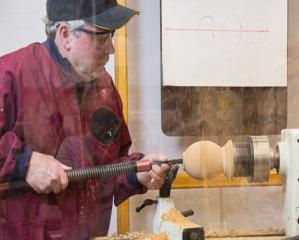
In preparing a blank for turning into a hollow form Dennis bores a 1 inch diameter hole about a half inch deep into the end that will be the top and uses this recess to register his four spur drive in the headstock. After bringing the tailstock with a live center into play, he finish rounds the blank and develops a tenon he will use to hold the vessel during hollowing. Dennis stressed the importance of taking time to prepare a proper tenon and to size the tenon as large as practical for the vessel.
While the blank is still between centers he begins to evolve the outside shape. He will leave a considerable portion of the lower section of the vessel in the rough turned shape at this time in order to maintain a proper balance of mass to ensure rigidity during hollowing. One of the skills one needs to be successful at hollowing is to be able to keep the final shape in one’s mind’s eye during the whole process, a skill Dennis has keenly developed.
Once he is satisfied with the preliminary outer shape he remounts the vessel to-be in his four jaw chuck and tightens it securely. With a hand held 3/8 inch diameter drill he bores a depth stop hole to begin the hollowing process. For the sake of the demonstration, he bores two one inch diameter holes opposite each other at the waist of the vessel. This will allow the chips to escape, rather than him having to stop and clear the accumulated chips.
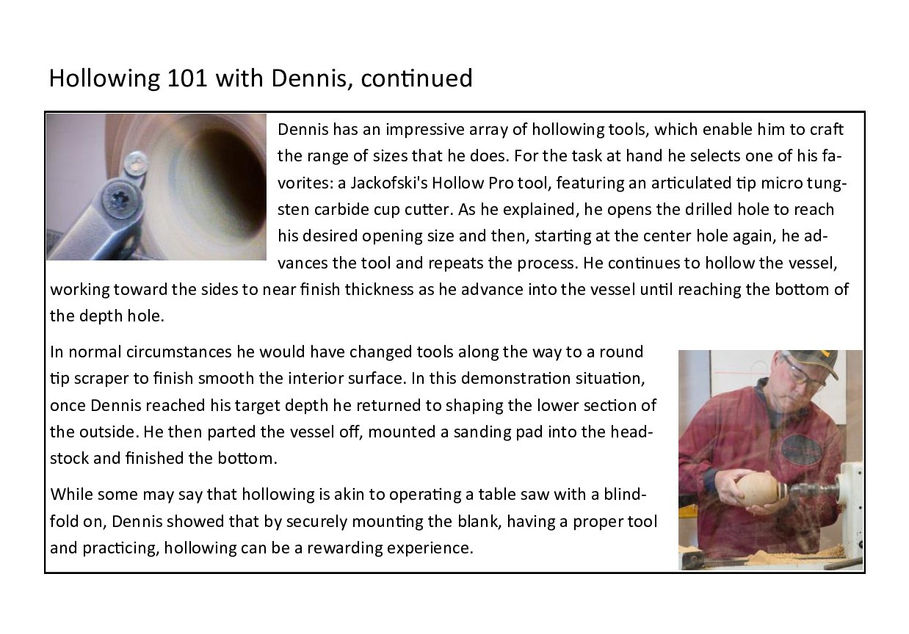
Dennis has an impressive array of hollowing tools, which enable him to craft the range of sizes that he does. For the task at hand he selects one of his favorites: a Jackofski's Hollow Pro tool, featuring an articulated tip micro tungsten carbide cup cutter. As he explained, he opens the drilled hole to reach his desired opening size and then, starting at the center hole again, he advances the tool and repeats the process. He continues to hollow the vessel, working toward the sides to near finish thickness as he advance into the vessel until reaching the bottom of the depth hole.
In normal circumstances he would have changed tools along the way to a round tip scraper to finish smooth the interior surface. In this demonstration situation, once Dennis reached his target depth he returned to shaping the lower section of the outside. He then parted the vessel off, mounted a sanding pad into the head stock and finished the bottom.
While some may say that hollowing is akin to operating a table saw with a blindfold on, Dennis showed that by securely mounting the blank, having a proper tool and practicing, hollowing can be a rewarding experience.


